
|
Metal Slug 7 is currently the last true Metal Slug, but it's also the first MS
game of the main series to be released solely on a portable console: the Nintendo DS. |
Metal Slug XX is the direct remaster of Metal Slug 7, released on PSP and later ported to the Xbox Live Arcade.
This new version includes Leona from KOF as a new playable character, normal sized sprites, improved backgrounds,
new alternative paths (previously unused in MS7) and much more. It's pretty much superior in every way.
There's currently 1 way to rip MS7's sprites pratically: use TiledGGD on a rom of Metal Slug 7.
Oddly, I couldn't rip the sprites with DeSmuME's tools (except the ones appearing in the lower screen), so Tiled will do it for now.
For MSXX, there's 2 ways to do it: use TiledGGD on the DATA.bin file found inside an .iso of Metal Slug XX to
view the tiles of graphics, or use Ninja Ripper on
PPSSPP to continuously rip the sprites while you play (much like Dolphin's Dump Textures feature).
(Mad thanks to Ragey once again for basically providing the whole tutorial for the TiledGGD way of MSXX!)


TiledGGD can be reused to view and rip both games' tiles, and are displayed similar to MS6's.

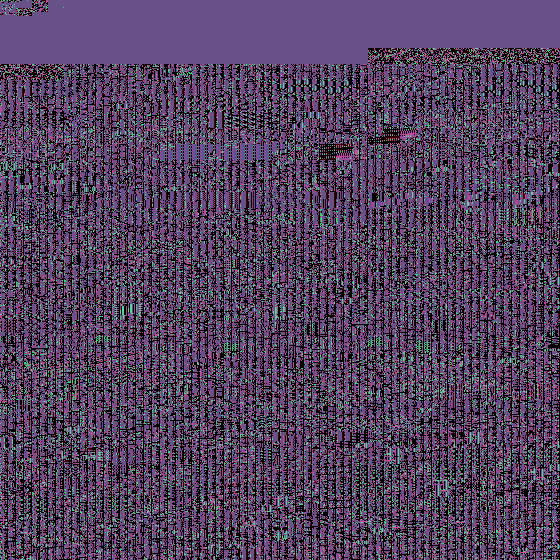
Open up TiledGGD and import the .nds rom of MS7 in it.

It'll look like this. Nowhere near the graphics yet again!
Now set up the configurations in this order:
- Change the "Panel Size" to "16x128"
- Set the "Tile Size" to "16x16"
- Change the "Mode" to "Tiled"
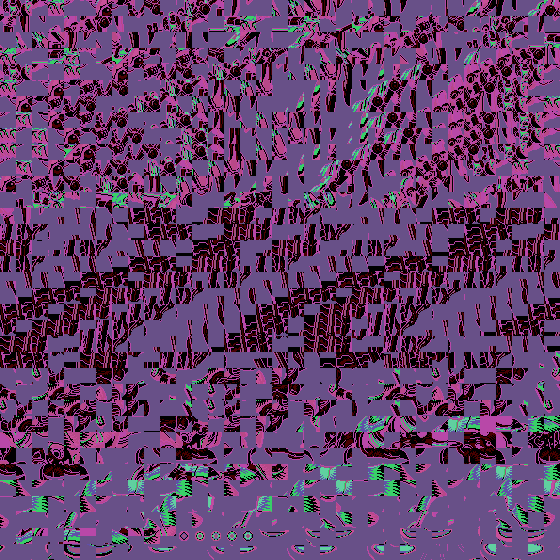
Now expand the canvas by using the keyboard arrow keys.
Just like MS6, it'll first look like a jumbled mess of pixels.
Now I recommned setting the Skip Size (located under "Image/Skip size") to a bigger unit to scroll faster through
the graphics ("(Height) Rows" is pretty useful). You can scroll by pressing the PgUp and PgDown keys on your keyboard.
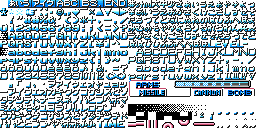
There we go! For the palettes, it's easier to simply recolor the ripped sprites with a screenshot of
MS7, but feel free to try and find them in the palette viewer.
You can then Ctrl+C the canvas and paste it onto your image editor. Like MS5 and MS6, MS7's tiles can always
be pieced back correctly if you use a checkered background.

To get the DATA.bin file from the .iso, simply decompile the .iso with WinRAR, 7zip or any other kind of file decompiler. Once that done,
you'll find the .bin file under "PSP_GAME/USRDIR".
Now open TiledGGD and import the DATA.bin file into it.
Just like MS7, it'll look like this. Now set up the configurations in this order:
- Change the "Panel Size" to "32x128"
- Set the "Tile Size" to "32x16"
- Change the "Mode" to "Tiled"
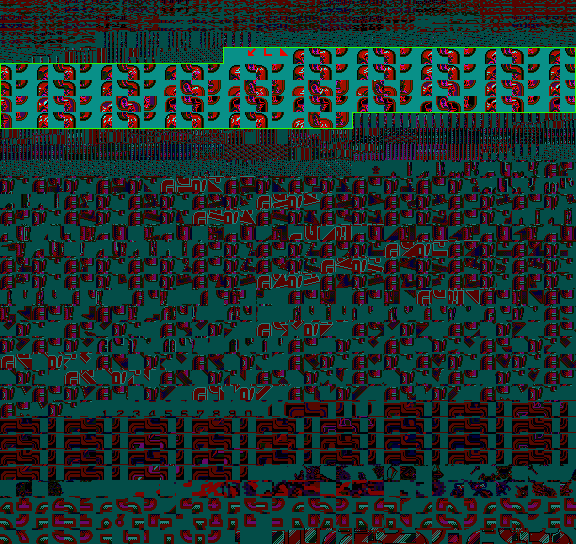
Now expand the canvas by using the keyboard arrow keys and voilà!

The sprites are now correctly displayed! But if you look closely, you'll remark that the sprites are actually cut in half in each tile,
so change the height of the canvas by pressing the PgUp and PgDown keys on your keyboard with the "Skip size" set to 1 byte to correctly display them.
Much better for the character icons! Though you'll have to tweak more with the canvas size to display correctly the rest of the sprites.
For the palettes, you can scroll through them with the Home and End keys. But once again, be sure to tweak a bit with the "Skip size" of the palette section to
make the job easier. The palettes begin to appear at "Offset: 0x1140".
Ragey was kind enough to send me a couple of coordinates (which you can input into "Go to offset...") to find some of the game's sprites, so
here you go!:
- 201E3C0 --- Player characters stuck in the ground
- 23D1A40 --- Player characters entering the Slug Truck
- 3781790 --- Player characters cranking a box
- 3B7B710 --- Player characters in a Slugnoid
- 4ED0C20 --- Player characters riding an Ostrich Slug
- 4F4E800 --- Player characters getting killed by a Flying Parasite (from MS6)
- 58A7310 --- Player characters teleporting + unused fat teleporting remnants
- 69B3020 --- Snowman Leona
- 78CF9A0 --- Leona cranking a box
- 3FD5920 --- Hunter
- 4E37C20 --- Man Eater
- 900FF20 --- Future Rebel
- 9E99FB0 --- Allen Boss
- C927AB0 --- Laser Unit
- F0A2AB0 --- Flying Tara / Eaca-B
- 2B75200 --- Tower Turrets
As usual, MSXX's sprites can be pieced back correctly if you use a 16x16px checkered background.

Ninja Ripper is a texture-dumping program capable of ripping most video-games out there.
Although this tool works similarly to the Dump Textures feature of Dolphin, the color levels of blue and red of MSXX's dumped
tiles are swapped, and the files themselves are in .dds format. So you'll have to use a .dds converter to get the files in .png format.
Regarding the color swapping, GIMP and Photoshop can manipulate the levels of color with the Channel Mixer
(this tutorial on PS2 texture ripping explains better how to do that).
Once you open Ninja Ripper, set these following configurations:
Exe: (Choose "PPSSPPWindows64.exe")
D3D9 Wrapper
Output directory: (Whatever path you want!)
Once that done, you can start PPSSPP and play MSXX. Press F9 and Ninja Ripper will start dumping the sprites for approximatively 1-2
minutes. You can stop the dumping earlier by pressing F9 again.
The dumped tiles will either look like 32x32 (for most small-mdeium sized sprites) or 128x128 (for the backgrounds and lerger mechas) pixels wide .pngs.

There are some exceptions though, like the HUD-related sprites.
If you want, you can combine the palettes of these dumped tiles with the graphics ripped from the DATA.bin file, saving some time searching for
the palettes in TiledGGD in the process!
